How It Works
How our magnet photo booth works — phone to fridge in 60 seconds
No app download. No account signup. Just scan and go. Here's the full process at the station.
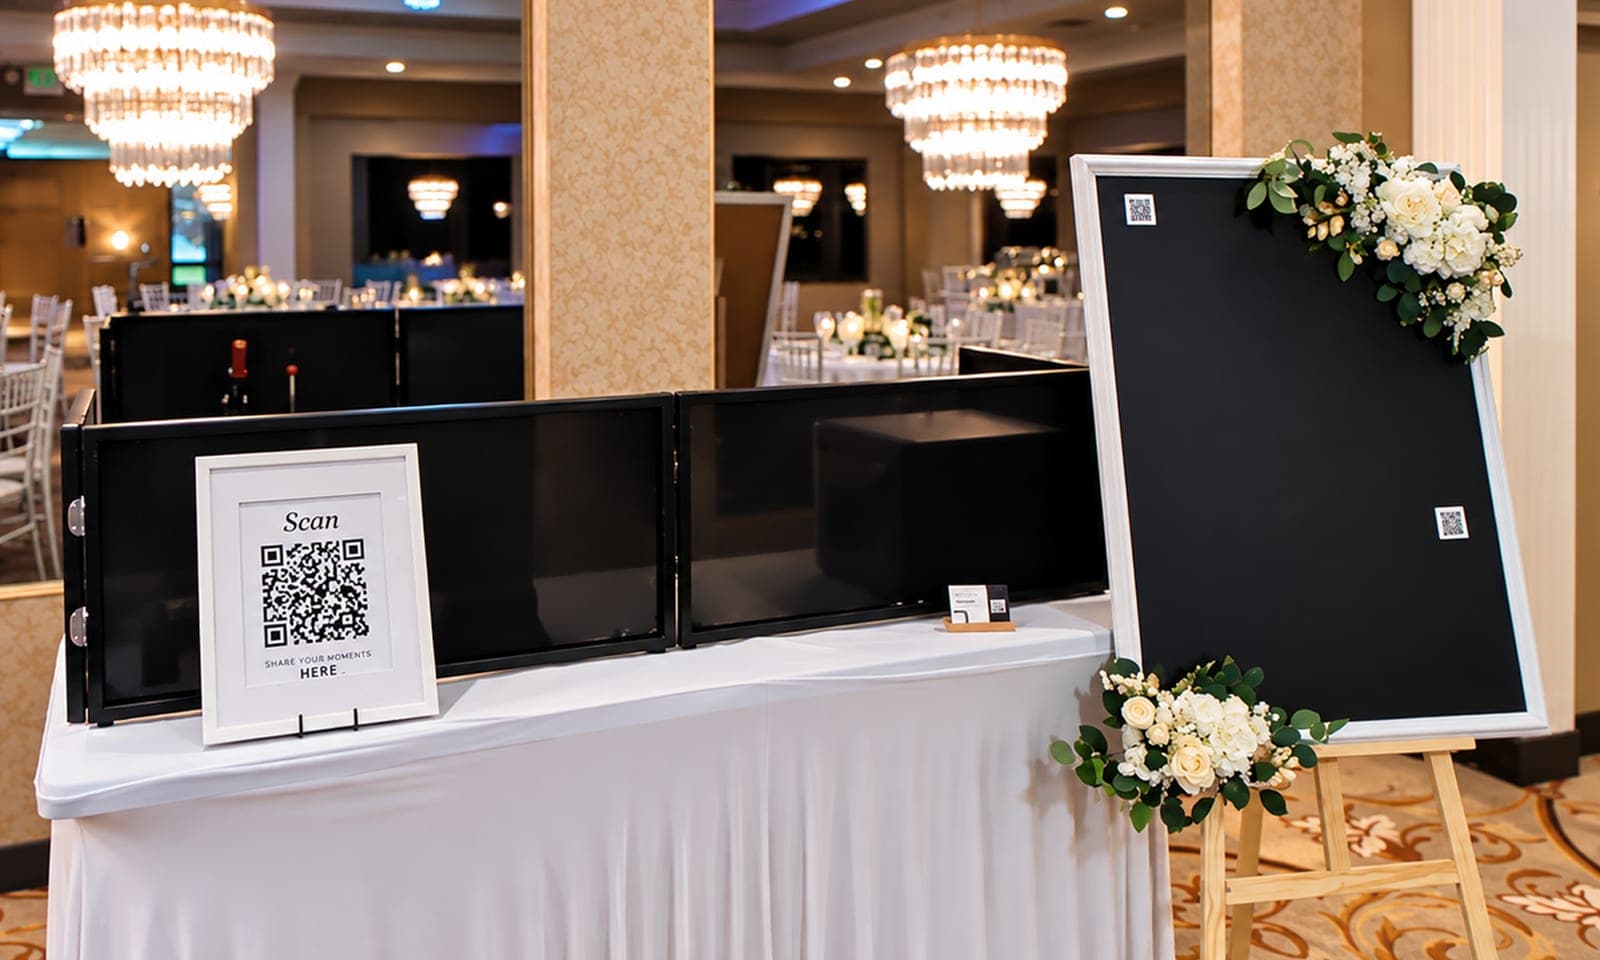
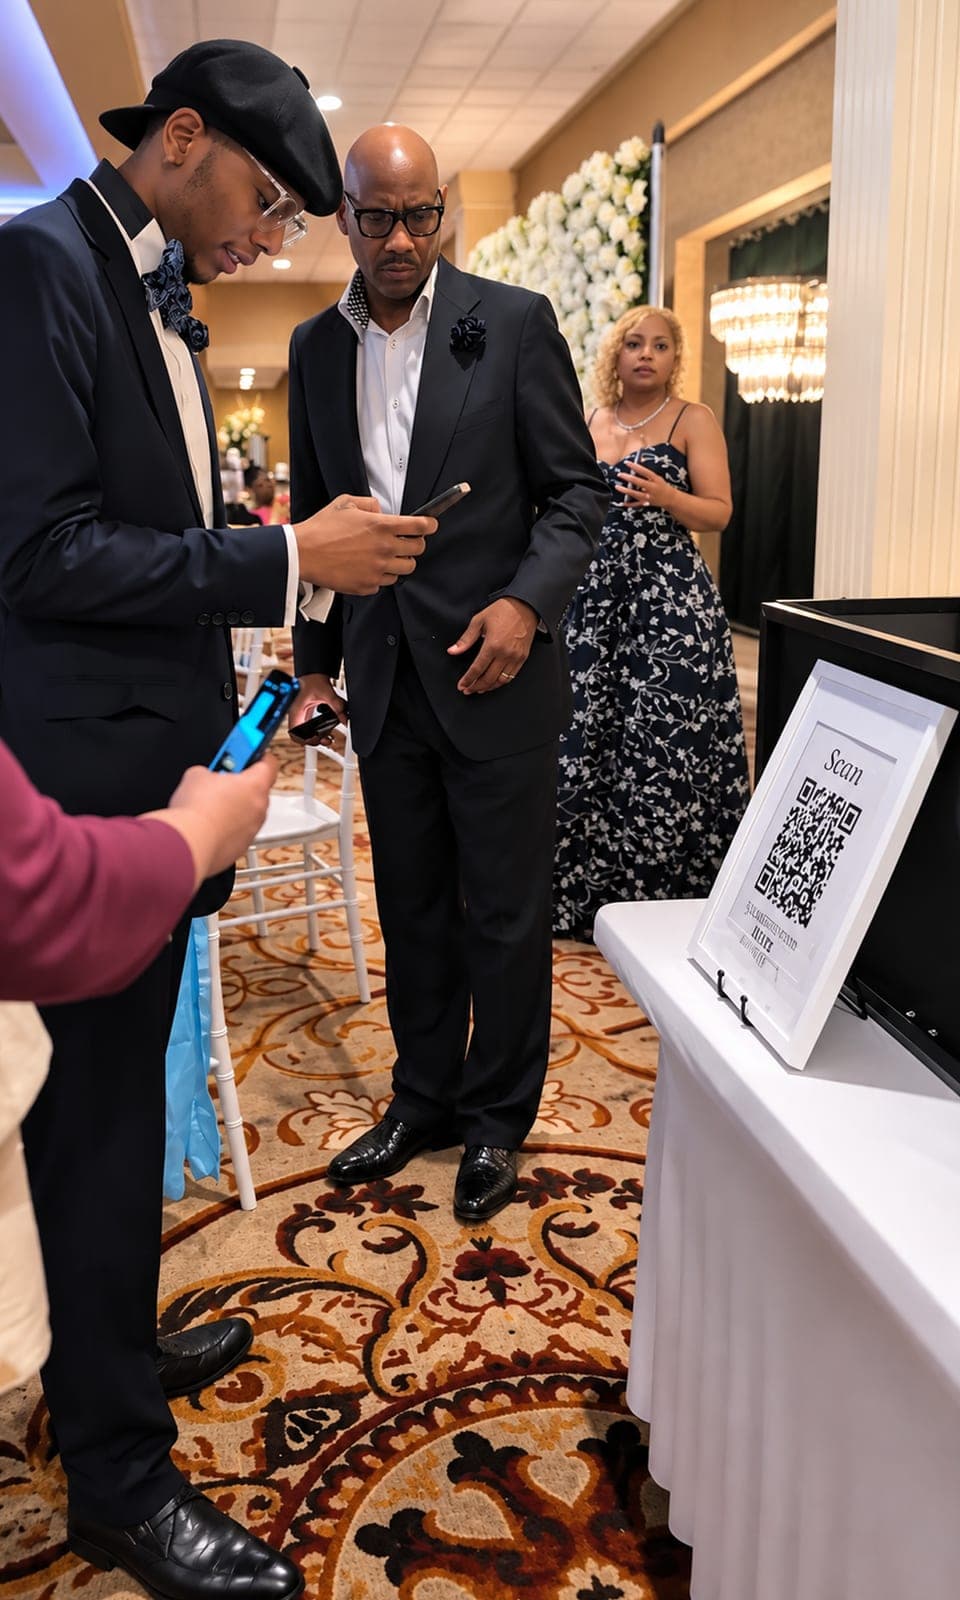
Scan the QR code
Point your phone camera at the QR code on our table sign. A web page opens in your browser — no app to download, no account to create. Works on any iPhone or Android.
Choose your photo
Pick a photo from your phone's gallery or snap a new one right there. Our system opens your camera or photo library directly.
Crop to fit
The app shows a square crop overlay locked to the magnet dimensions. Drag and zoom to get the perfect framing, then tap submit.
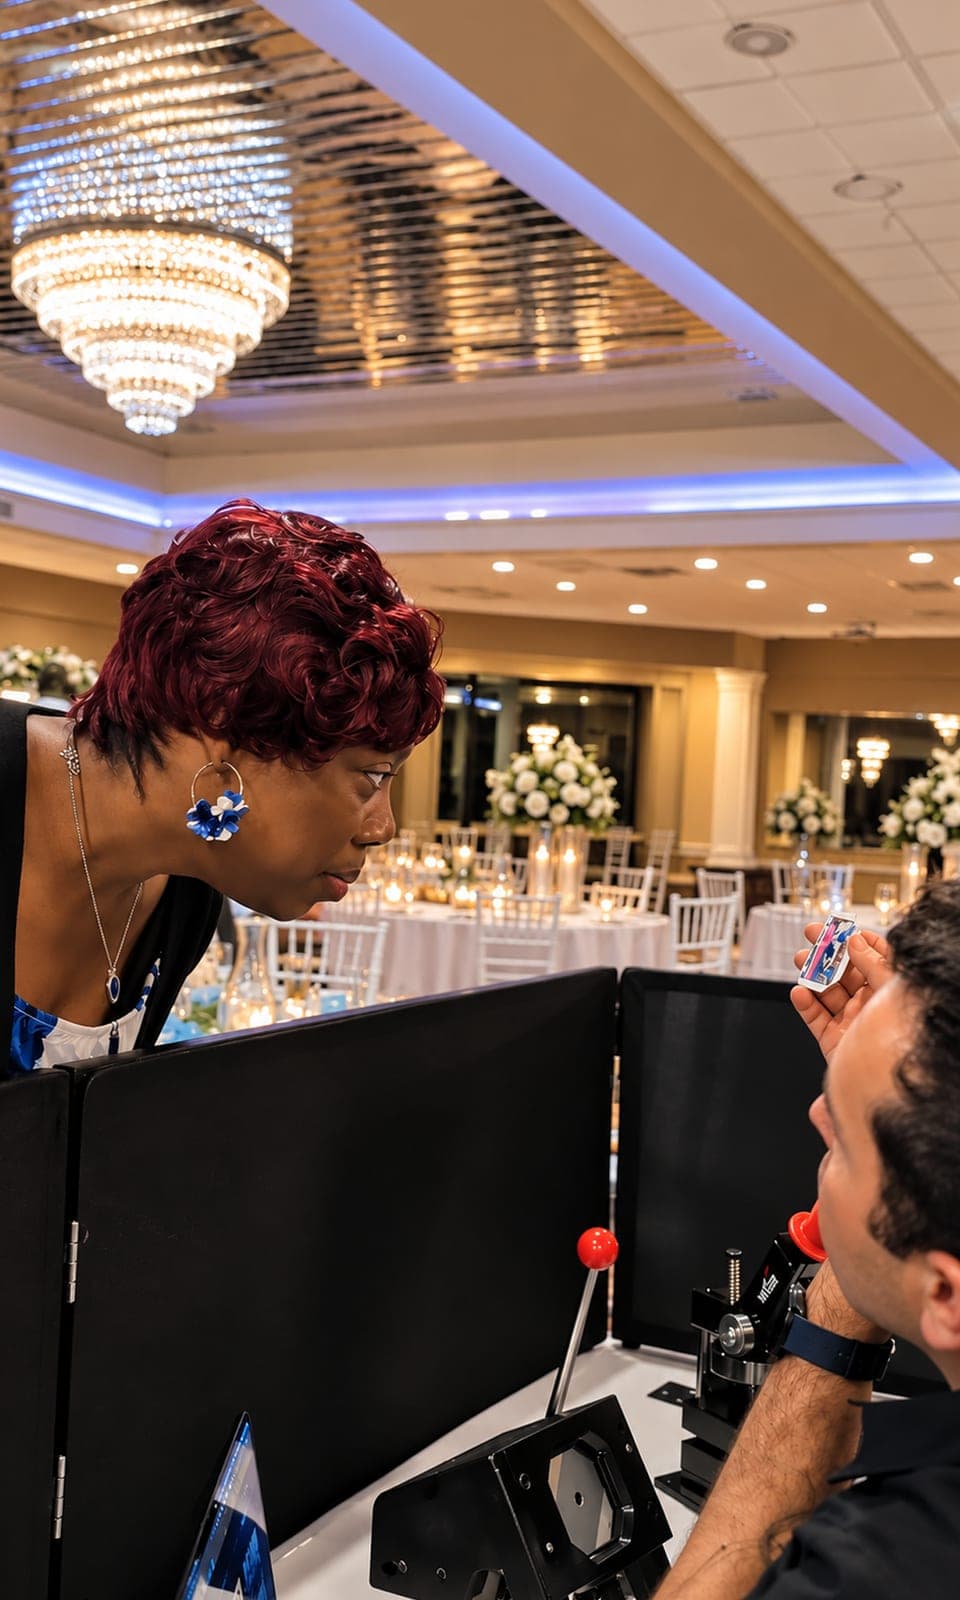
We print & press
Your photo appears on our operator's screen. We print it on professional dye-sublimation paper, cut it to size, and press it into a real photo magnet.
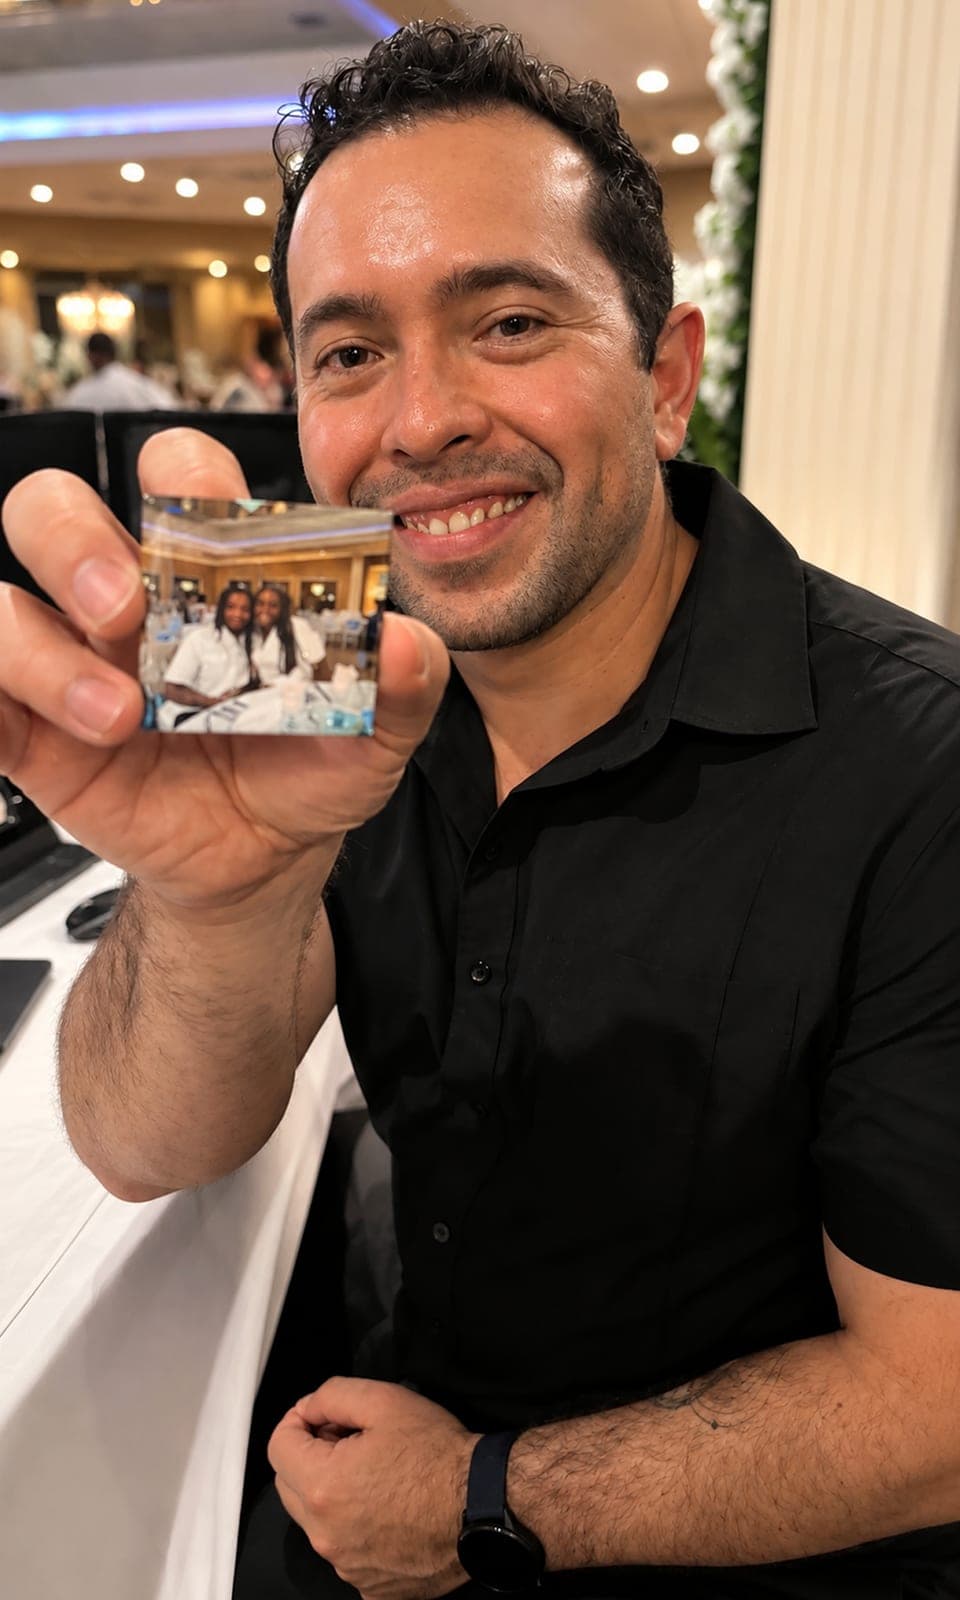
Take it home
About 60 seconds later, your custom photo magnet is in your hand. Put it on your fridge when you get home. It'll be there for years.
What we bring
You provide the space and a power outlet. We handle everything else.